Ever since the post "I Am a Photographer" featured back in June (see here), I have been wanting to give a brief little rundown of all the many types of cameras I have used over the years. This will be to make a point for one...and two, I simply want to show you what is 'behind the scenes' of this blog.
Many people think that you have to own the most up-to-date camera equipment on the planet to make beautiful photos. As if to be called a photographer, they first have to spend thousands of dollars. On the contrary, you don't have to have a $5000 Canon DSLR camera with a $900 lens just to dip your toe the photography pool.
No. All you need to have is the will to walk outside and capture the most beautiful colors known to man on a Fall day...and some sort of camera. That's all you need to start.
Having said that, here are a few of the cameras I have had over my lifetime. As you will see, most are not "all that".
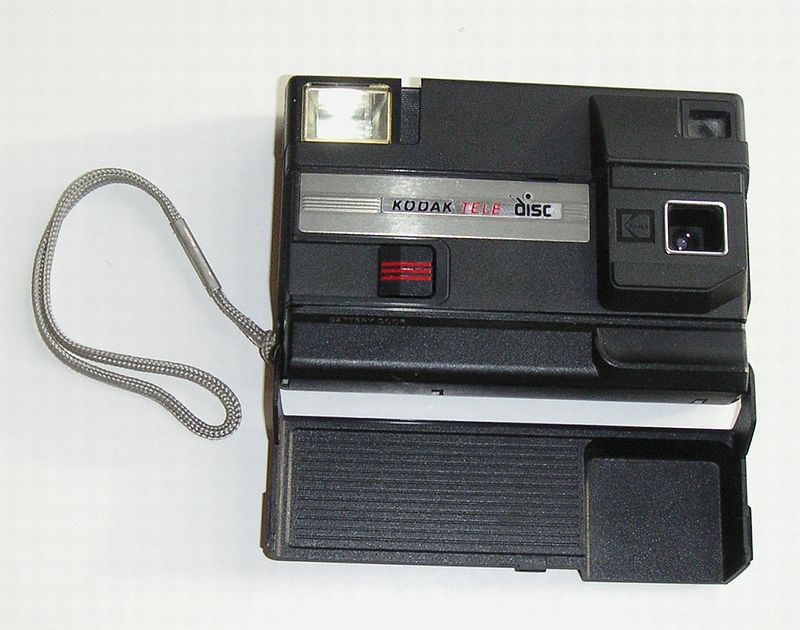
 |
| Image not mine, but courtesy of wikipedia.com |
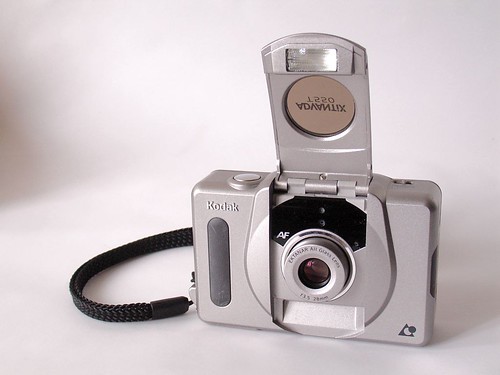
 |
| Image not mine, but courtesy of wikipedia.com |
 |
| Image not mine, courtesy of flickr.com/photos/mech_for_i/ |
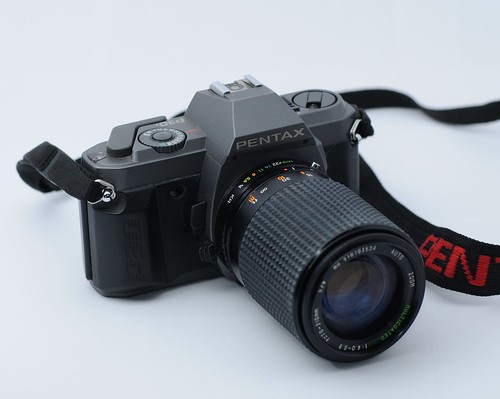 |
| 50mm, ISO 100, f/3.5, 1/250th of a sec, strobe 1/128th pwr |
This is the camera that made me realize that I had an interest deep down inside that was a little different than my friends at the time. This was a flame that started to grow into a hobby.
And with that, we'll end part one of my bio. These are the film cameras that started it all for me. Next time I'll touch on some the digital cameras that I have been fortunate enough to call my own.
Here's something I want you to take away from this... You don't have to have all kinds of sophisticated gear to dabble in photography. All you need is some type of camera to START. You can always add gear later.
It's been a nice little journey for me so far...and it all started with a Instamatic camera passed down from my great grandmother. Hope you enjoyed this little throwback in time.
Thanks for reading and happy shooting!
Brant
(Like it here? Resister your email for automatic updates up at the top. Also, pass the blog on to your friends using the Tweet and Facebook buttons.)